

make a pocket nappy from a T-shirt
An upcycling or reconstruction project
Requirements: nappy or diaper pattern, cotton T-shirt, thread, facing fabric, polyester braided elastic, snaps or hook-loop fastening.
For the nappy or diaper pattern, you can choose any of the online free patterns, a bought pattern or one that you have traced off a favourite well-fitting nappy in your stash.
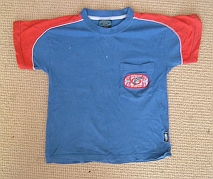
Take your T shirt. This is a boy's size 4 Tshirt.
If it has one, unpick the pocket from the front of the Tshirt and keep it for later.
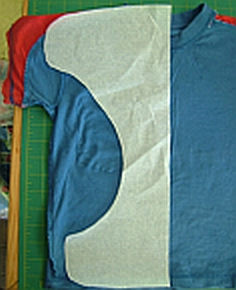
Place the pattern on the Tshirt with the back waist of the nappy pattern centred on the neck opening.
The neck opening of the T shirt will become the opening for the pocket.
The front of the T-shirt will become the inside of the nappy in this example.
I like to trace around my pattern using a ball point pen or, if the fabric is dark, a sliver of soap!
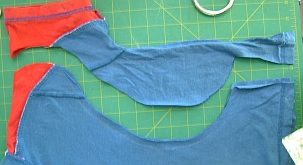
Cut out the nappy.
I am going to turn and top-stitch this nappy, so I have included a seam allowance of about 15mm (5/8").
You could overlock or serge if you prefer. In this case, you need to leave an allowance of about 6mm (1/4").
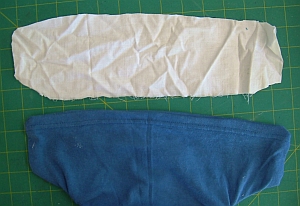
Facings are necessary to provide strength for the snap locations so the snaps do not pull out of the cotton interlock.
Cut facings the same shape as the front tummy section and back wings sections of the nappy. Use a woven fabric. An old pillowcase is good for this.
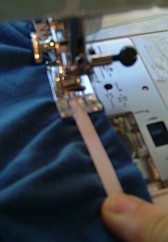
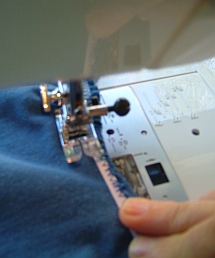
Take the front piece of nappy (that is, the "inside" or part that will touch your baby) and sew elastic onto the edge of the leg opening.
Do not cut the elastic until you have finished this step. The extra length gives you something to hold on to when you are stretching it.
Stretch the elastic to the limit, hold it against the nappy fabric and then let it relax back to about 75% of the maximum stretch. Beginning at the elastic notch on your pattern, sew the elastic firmly to the fabric using a wide zigzag with a short-normal stitch length.
Showing the elastic sewn on the edge of the leg opening.
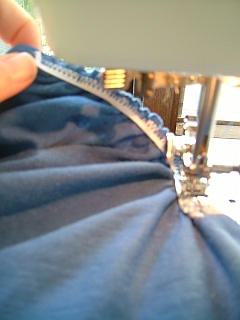
Sew elastic at the front waist the same way that you did the leg openings.
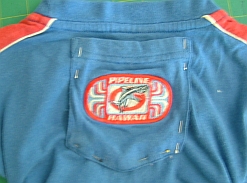
(Optional) Pin, then sew the pocket on the outside back of the nappy.
Pin facings to wings and tummy on the wrong side of the outer part of the pocket nappy.
Mark placement for and then set snaps on the front tummy section.
If you are using hook-loop for closure, then sew the loopy (soft) side to the front tummy part.
Sew the inner and outer of the nappy together. Make sure to not catch the elastic as you go around the leg openings. Stretch the elastic as you sew to make both pieces line up.
Be carefdul to catch the facings when you are sewing around the wings and the front tummy.
Turn the nappy right side out. Topstitch around the edges of the nappy, beginning at the ribbing of the neck band/back pocket opening. When you come to elastic, do not sew over it, but sew on the inside a little to make a casing.
If you catch the elastic in the stitching, it doesn’t stretch properly any more.
Set snaps in the back wings.
Stuff the nappy and you are set to go!
In this example I used a pad folded tea towel.
Please let me know how you go with making your own reconstructed nappies and I would love to see your photos.
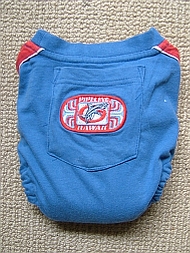
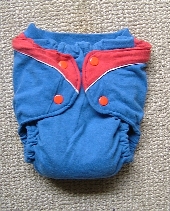
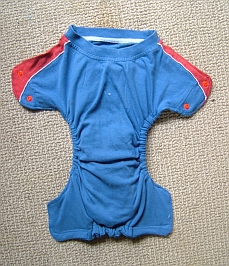
This shows the back of the nappy.
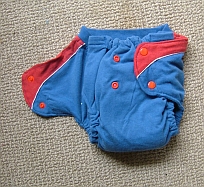
And this is the front of the nappy. Please note, as this nappy doesn't have any waterproofing, it is ideal for summer wear. When worn under clothing, you will have to also use a cover to avoid wicking.
Contact me if you have any questions about this tutorial or to show off your own creations!